If you're not traveling in winter, your camper needs proper prep for the off-season. Frost, moisture, and long periods of standing still take a toll on the water system, battery, and tires. How to winterize your motorhome and caravan — we'll walk you through it step by step, with a checklist to tick off and a video.
When should you winterize your motorhome and caravan?
Ideally before the first night frost. Just one freezing night is enough for leftover water in the pipes, pump, or boiler to freeze and damage components. Depending on your region, that's usually between October and early November.
If your vehicle is heading to winter storage, plan the timing so you arrive there with an empty water system. A full tank is all you need for the drive — you won't need the water system anymore.
Winter storage: garage, carport, or outdoors?
Where your camper spends the winter affects how much work it'll need come spring.
Indoor storage: The best protection from snow, UV light, and moisture. It's also the priciest option, and good spots often get booked up early.
Covered pitch or carport: Protects against snow and rain from above. Wind and humidity still reach the vehicle, though.
Outdoors: The cheapest option. Well-maintained seals, a clean roof, and a proper cover matter even more here.
If you use a cover, make sure it's breathable and doesn't sit directly on the vehicle. Otherwise moisture builds up underneath.
We cover how to find a winter storage spot and what to watch out for in the contract in our podcast episode on winter storage. Ask the operator beforehand whether gas bottles need to be removed.
Winterizing the interior of your motorhome or caravan
Kitchen
Clear out all food supplies. That way mice and insects won't find anything to eat, and no liquids can freeze.
Empty, defrost, and clean the fridge (attach a winter cover over the vent if needed)
Prop the fridge door and freezer compartment open with a towel or dry cloth
Clean the kitchenette and stove
Living and sleeping area
Clean furniture with gentle products (e.g. mild soapy water)
Remove all textiles completely if possible
Stand up cushions or prop them up for better air circulation. This helps prevent mold.
For fixed beds: open the bed box or prop up the mattress
Empty cupboards and leave doors and compartments open if possible
Remove moisture-absorbing materials (carpets, clothing, bedding, towels, paper, toilet paper, etc.)
Oil or grease locks and hinges
Treat seals with a care product
Electronics and leisure battery
Remove electronic devices like TVs if applicable
If fitted: disconnect and remove the leisure battery, and store it somewhere frost-free and dry
(alternatively: fully charge the battery before winter so it survives the freezing period)
Frost-proofing the water system and heating
Leftover water that freezes can burst pipes, the pump, and the boiler. That's why the entire system needs to be empty, not just the fresh water tank. Here's the order we recommend:
1. Clean and empty the tanks: Clean the fresh and waste water tanks with a specialized cleaner and drain them completely
2. Switch off the pump and heating: This stops anything from running back in while you drain the system.
3. Open all taps: Set mixer levers to the middle position so both the hot and cold water lines drain fully.
4. Drain the boiler: Open the drain valve on the boiler. On Truma heaters, this is often called FrostControl — a yellow dial on the valve.
5. Don't forget the showerhead and pump: There's usually still water left here. Detach the shower hose and let it drain.
6. Blow out the pipes: If you want to be extra thorough, blow out any remaining water from the pipes using light air pressure.
7. Leave everything open:Taps and drain valves stay open over winter.
8. Clean the heater: Remove dust from the heater or heater box.
Toilet and sink waste water tank
Clean the bathroom thoroughly
Clean the toilet cassette
If fitted: Empty the sink waste water tank (this one's often forgotten!)
Afterwards, fill the tank again with a bit of water and sanitary fluid, swirl it around well, and let it sit for 1 to 2 days. Then empty it out and rinse thoroughly with clean water.
Lubricate the blade seal of the cassette toilet
Secure the gas system
Close the gas shut-off valves inside the vehicle
Turn off the valve on the gas bottle, let the gas escape from the lines, and remove the hoses
If possible: Remove the gas bottles and store them in a dry place. At some winter storage sites, this is actually mandatory.
Winterize the camper from the outside
Clean the exterior walls thoroughly (don't forget the wheel arches!) and treat with protective coating if needed
Repair any damage to the body
If possible: Wash the underbody
Clean windows and roof hatches gently with a sponge or soft cloth and a mild acrylic glass cleaner
Treat the rubber seals on doors and windows so they don't turn brittle in freezing temperatures
Clean and dry the awning and porch awning
For permanently installed awnings: grease the joints
If fitted: Clean dirt off antennas and the satellite system
Install theft protection
Tires, axle, and stabilizer jacks
Position the vehicle roughly level over the wheels by driving onto ramps or leveling blocks.
For caravans, only use the stabilizer jacks for fine adjustments. They're not designed for lifting and can damage the ground.
Increase tire pressure (up to 0.5 bar above the usual value is recommended)
Use a jack to moderately relieve pressure on the axle and support it, but don't lift the wheels completely off the ground. This protects the rubber suspension and tires and helps prevent flat spots.
Specifically for caravans
Grease the hinges, handbrake, and jockey wheel
Put a cover over the drawbar
Attach a cover to the hitch coupling if you have one
Specifically for motorhomes
Fully charge the starter battery
Fill up the tank (ideally with winter diesel)
Drive slowly while braking lightly to let the brakes "dry out"
Afterward, secure the vehicle with wheel chocks, level out any unevenness, and release the handbrake
Check antifreeze levels for the engine and windscreen washer system and top up if needed
Fold the wiper blades forward (the rubber lips shouldn't be touching the windscreen)
Insurance, seasonal license plates, and roadworthiness inspection
If your camper is parked for several months, you can cut your running costs. With a seasonal license plate, you only pay vehicle tax and insurance for the months the vehicle is actually registered.
Also check which types of damage are covered while your vehicle is in winter storage, such as storm damage, snow load, or marten bites.
Get the roadworthiness and gas inspections done early
If your roadworthiness inspection or gas system check is coming up soon, get it done before you put your vehicle into winter storage. That way, nothing stands in the way of a spontaneous trip come spring.
In autumn and winter, waiting times for garage appointments are usually much shorter than right before the season starts.
During the winter break: the monthly check
Once a month, you should check on your vehicle:
Move the vehicle briefly to prevent damage to tires and axle from standing still
Air it out well, ideally on a dry day
Recharge the battery
If it snows: clear the roof before the weight builds up too much
Watch out for signs of mice, especially in storage compartments and around cables
Test the alarm system and tracking or alarm box, and check the credit on the prepaid SIM (a tip from our readers)
Checklist to tick off and print out
Here are all the steps in short form. You can get the printable checklist by clicking the preview banner below.
Clear out supplies, defrost the fridge, and leave it open
Remove textiles, prop up cushions, leave cupboards open
Disconnect the leisure battery (negative terminal first) or charge it fully
Clean and empty the fresh water, waste water, and sink waste water tanks
Drain the boiler, leave the drain valve and taps open
Clean the toilet cassette, lubricate the blade seal
Turn off the gas inside and at the bottle, remove the bottles if needed
Wash the exterior, repair any damage, treat the seals
Store the awning and porch awning dry
Level the vehicle, increase tire pressure, relieve the axle
Install theft protection
Caravan: grease the drawbar, handbrake, and jockey wheel
Motorhome: fill up the tank, charge the starter battery, check antifreeze
Sort out insurance and license plates for the winter break
Add the monthly check to your calendar
Tips and recommendations for vehicle care
Car wash
Washing vehicles in public spaces is banned for environmental reasons. So to wash your caravan or motorhome, head to an official washing area. Some cities have dedicated motorhome wash bays, but truck washing stations work just as well.
Watch out for roof fixtures like solar panels or sat systems: they can get damaged in a truck wash. If you want to play it safe, wash by hand.
Household cleaning remedies
Use environmentally friendly cleaning products, and use them sparingly.
Vinegar in a spray bottle for gentle disinfection of the fridge and freezer: spray onto a soft cloth and wipe down the surfaces.
A mild solution of water and natural soap for furniture surfaces and the countertop
Baking soda and lemon juice for stubborn stains on the gas stove
Water with a few drops of dish soap for the sink and toilet bowl
Product recommendations
For the exterior shell, acrylic windows and rubber seals:
Reich myCleanHome Pflegeset für mobile Reisegefährten
Jetzt bei Amazon kaufenBreite: 14 cm Höhe: 28 cm Tiefe: 10,5 cm Gewicht: 1,85 kg
Erhältlich bei:
- amazon prime €14.90 Jetzt kaufen
- CampingWagner €30.99 Jetzt kaufen
- Fritz Berger €30.99 Jetzt kaufen
For cleaning the outside:
LICARGO Premium Mikrofaser Autowaschhandschuh - Ultra-Weich & Lackschonend - Extrem Saugstarker Waschhandschuh Auto für Kratzfreie Wäsche - Langlebig & Formstabil - Car Wash Mitt für Lack & Felgen
Jetzt bei Amazon kaufenEXTREM LACKSCHONEND & KRATZFREI - Sorge um den Autolack? Unsere Hochflor-Mikrofaser schließt Schmutz sanft ein…
Erhältlich bei:
- amazon prime €15.99 Jetzt kaufen
For cleaning the awning and canopy:
Erhältlich bei:
- Camping Kaufhaus €15.95 Jetzt kaufen
For water tanks and pipes:
Hygiene-Trio HGT-120 | Wasserhygiene Komplett-Set für Tanks bis 160L | Reinigung, Entkalkung, Desinfektion & autom. Wasserkonservierung | für Caravan, Wohnmobil & Boot | Made in Germany
Jetzt bei Amazon kaufenHYGIENE TRIO: Das Wasserhygiene Set bietet einen Komplettschutz für dein Frischwassersystem bis 160 Liter Tankgröße.
Erhältlich bei:
- amazon prime €54.99 Jetzt kaufen
- CampingWagner €54.99 Jetzt kaufen
- Fritz Berger €54.99 Jetzt kaufen
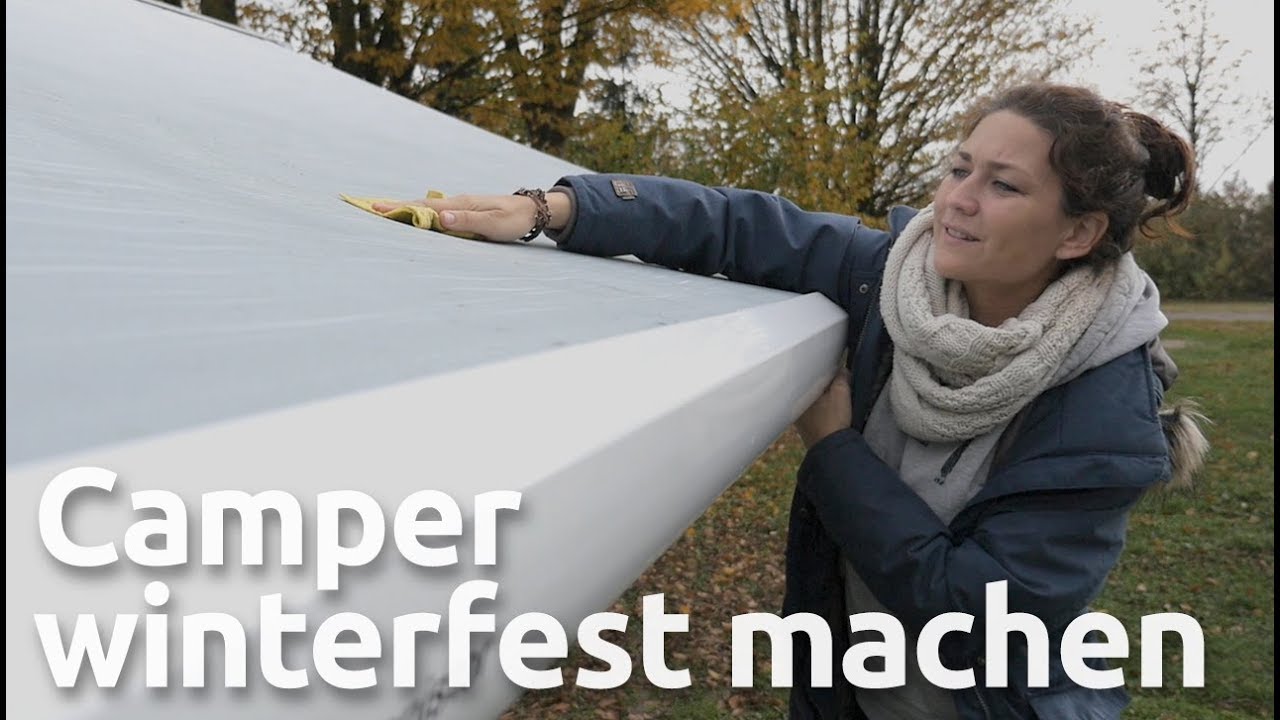
Video guide: winterizing your camper
We show you the 16 most important steps to get your vehicle through the cold months safely and dry in this video:
Podcast: winterizing your vehicle
In our podcast, Nele and Sebastian talked in depth about "winterizing your vehicle". Give it a listen:
A more recent episode also covers insurance and damage in winter storage:
Also worth a listen is the episode "Caravan and motorhome in hibernation":
Once the winter break is over, our spring check will help you kick off the new season.
We hope you have a great camping-free period, and not too long of one!

0 Kommentare
Noch keine Kommentare — sei die/der Erste und teile deine Erfahrung!
Danke!
Dein Kommentar wartet auf Freischaltung und erscheint, sobald er moderiert wurde.