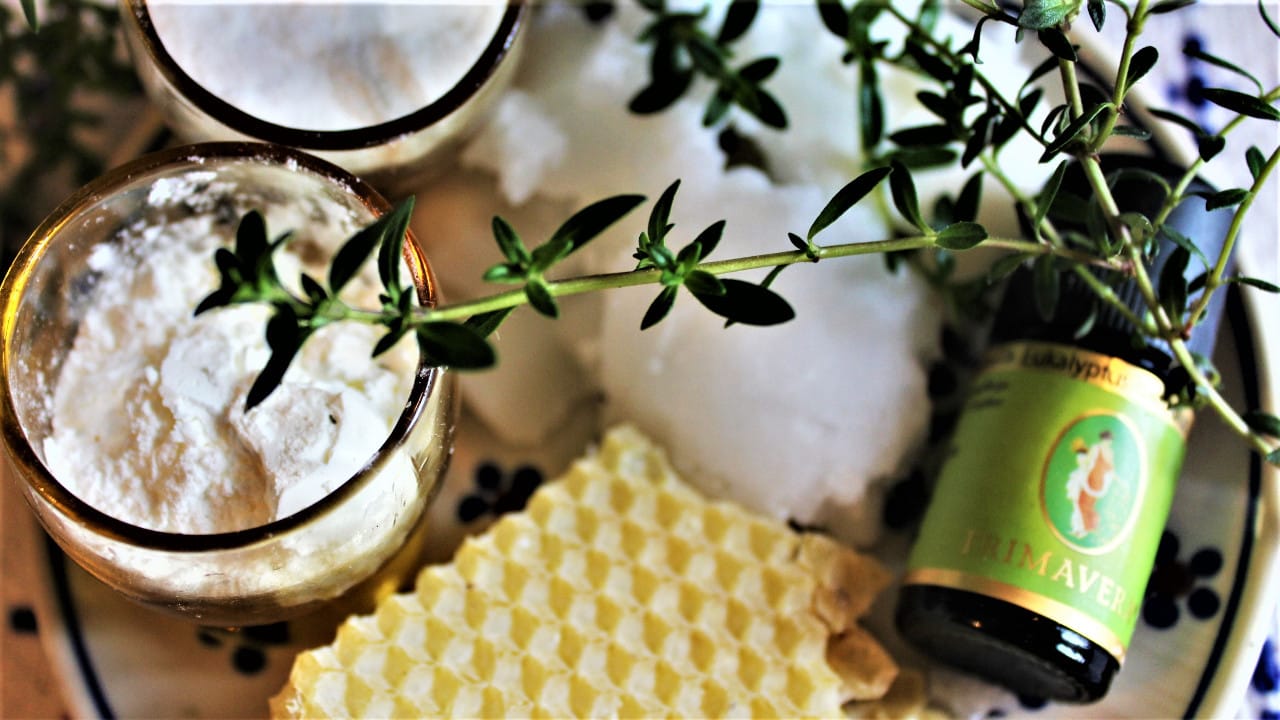
Making your own natural cosmetics is not only more sustainable, but can also be very useful and practical, especially for campers . When camping, you live close to nature and it is precisely this closeness that you round off with body care and cosmetics from your own production.
Making your own cosmetic products has become a real trend in recent years. Here you can find out why this is particularly helpful when traveling. You’ll also find lots of simple recipes to help you get started in the world of do-it-yourself natural cosmetics. Without any unnecessary additives.
In addition to skin-damaging ingredients such as silicones and surfactants, microplastic particles and the plastic packaging of many conventional care products are also under fire . If you think about how many empty shower gel packets, cream jars, scrub packets, roll-on deodorants, toothpaste tubes and empty shampoo bottles you throw in the garbage can year after year, you’ll realize why it’s good to make as much as possible yourself. Each and every one of us produces mountains of waste and we can only slow down this dynamic if more people enjoy making their own things. We campers love beautiful, mysterious and adventurous places that are not robbed of their beauty by carelessly discarded plastic waste.
Inhaltsverzeichnis

What natural cosmetics can I make myself?
Many bathroom items are actually relatively easy to put together yourself. It helps to experiment a little. Try out different recipes and don’t give up straight away if you don’t get the mixture right the first time.
In this article, I mainly present recipes for which you don’t need much more than the usual kitchen products. Later on, you can also find more complex recipes and instructions in books and on the internet, such as for making your own natural soap or make-up.
What good is that anyway?
If you make your own body care, you know exactly what’s in it and what’s not. Your skin is a sensitive organ and it becomes more demanding with every new year of life. If you make your own body care products, you can be sure that you are doing your skin good and not allowing any harmful chemicals to penetrate it. Not only will your skin thank you, but so will the environment. At home as well as on the move.
Homemade body care is completely free of plastic packaging, preservatives, plasticizers and surfactants. In most cases, it is even cheaper. Although really good essential oils are expensive, they last a long time because you really only need a few drops. Essential oils have a distinctive and very pleasant smell, and I personally think they somehow smell more honest and therefore more aromatic and clear than the cheap perfumes in many drugstore products. Incidentally, a homemade cream also makes a wonderful gift for friends and family. Your camper friends in particular are sure to be delighted.
What ingredients do I need to make natural cosmetics myself?
The most important ingredients are baking soda, high-quality cold-pressed oils (coconut oil, olive oil, almond oil, sesame oil…), essential oils, beeswax, herbs and curd soap. In this article, I will introduce you to some recipes for which you need other ingredients such as cornstarch, stevia or birch sugar. It’s also good if you cream jars, empty roll-on deodorants, lipsticks and spray bottles. All my jars of spreads and preserves are usedand small bottles straight into the dishwasher. That way I can collect them and refill them with my own cosmetics instead of buying new packaging from the internet. In addition to the ingredients for your creams, deodorants and shampoos, you will also need a small scale, possibly a thermometer and a small pot to heat oils and water.
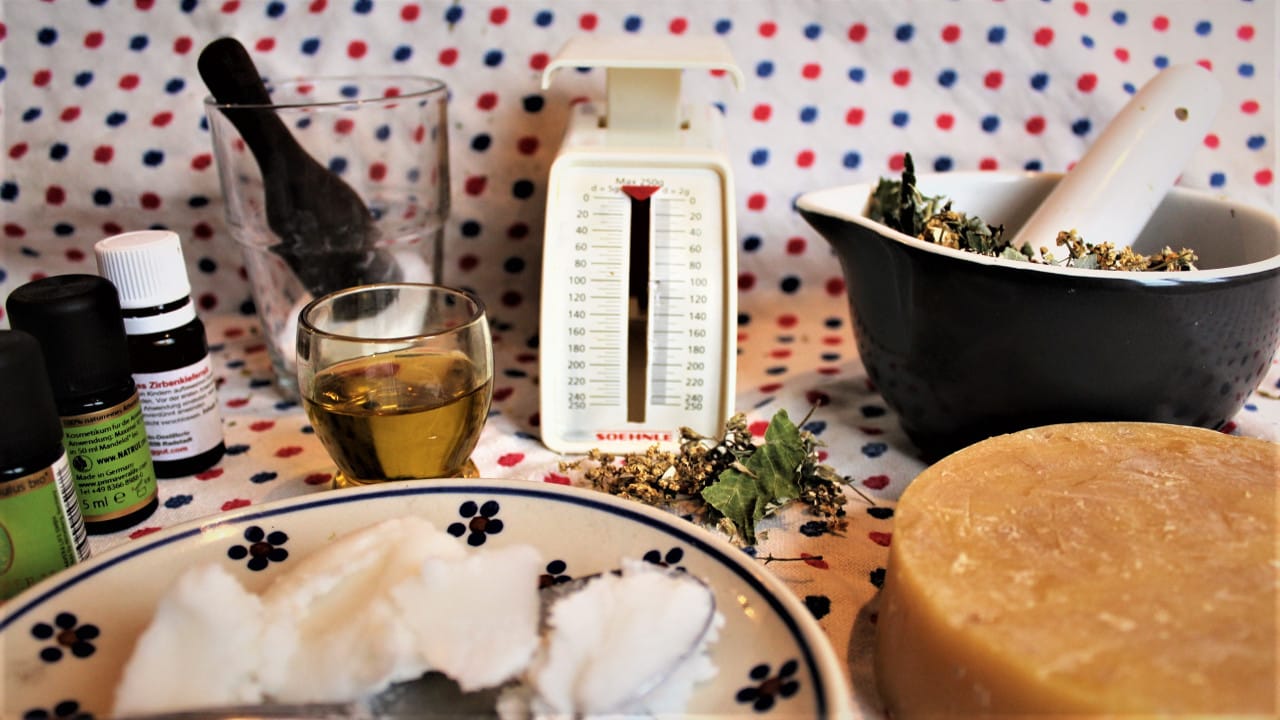
Where can I find the ingredients for natural cosmetics?
- You can buy baking soda at the supermarket or pharmacy. It is best to choose the baking soda wrapped in paper.
- You can find oils in organic markets or in the organic section of supermarkets. Beeswax is often available from a local beekeeper.
- Essential oils are often available in organic food stores, health food stores, pharmacies and markets.
- You can collect herbs in the forest, on a meadow or in your own garden and dry them yourself. Many medicinal herbs are also available in pharmacies.
- Curd soap or natural soap can be found at markets, organic stores or good drugstores.
- You can buy cornstarch and birch sugar in the supermarket.
You can buy anything online that you can’t find in your area. But take a look around locally first, because when you order, you “produce” plastic again for the packaging.
What are the disadvantages of homemade cosmetics?
You should be aware that homemade cosmetics never last as long as the finished products. However, this should not put you off, but rather reassure you. Fresh things go bad more quickly because no preservatives are added to them. That’s completely natural, nothing more.
Making your own cosmetics is also time-consuming, as you have to remix most products every few weeks or months. You should plan this into your next vacation preparations. With a little routine, however, making your own cosmetic products is very easy and you can always try out a new fragrance or a different recipe from time to time. Of course, it can happen that you are not so happy with a recipe. However, this can also happen if you buy a new care product in the store.
If you have very sensitive skin, you should only make a small amount of natural cosmetics to start with and try them out first. Natural oils in particular can trigger allergies under certain circumstances. Experiment a little and test out what your skin tolerates best.
How do you make your own natural cosmetics?
Creams and lip care
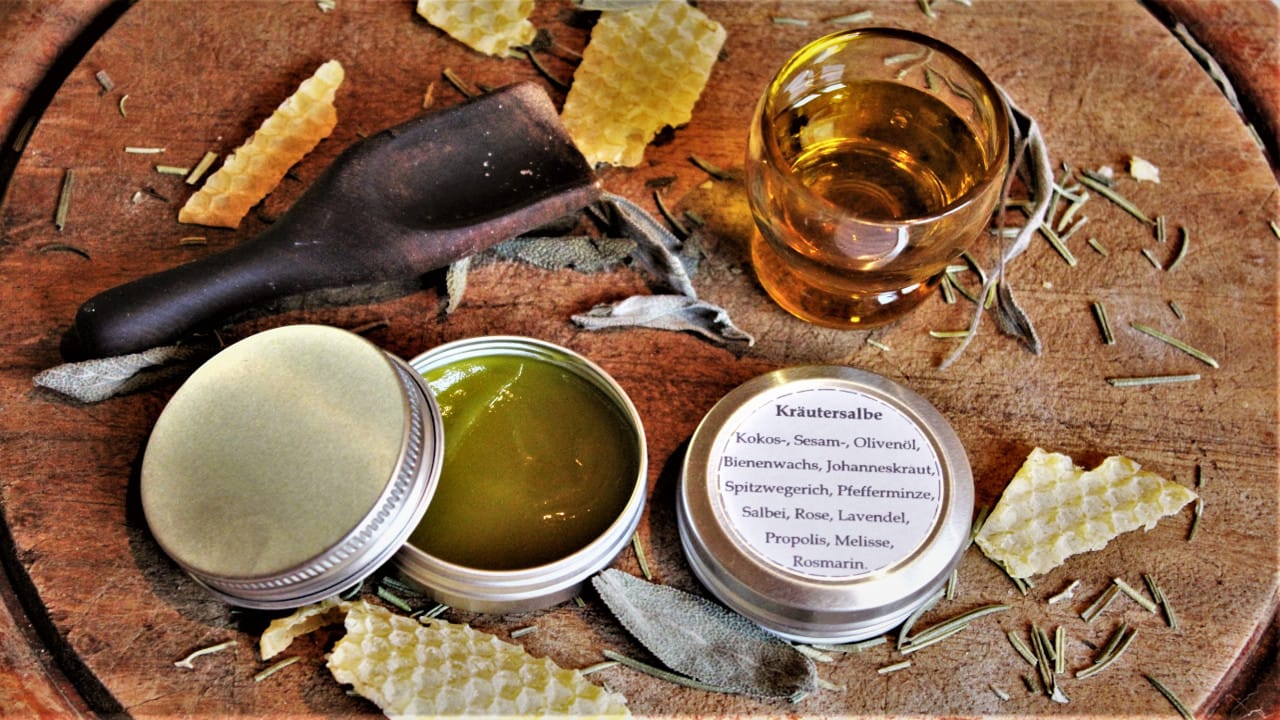
Especially on vacation, where we are outdoors a lot and often have dry skin and lips, a mild nourishing cream is very valuable. Calendula is highly recommended , but rose, lemon balm or rosemary cream are also pleasant and nourishing for the skin. There are no limits to your creativity when experimenting. The recipe for making lip balm is very similar, but you use a little more beeswax to achieve a firmer consistency. This recipe is based on the instructions of Ursel Bühring, a southern German medicinal plant expert:
Formulation for cream and lip care
- A pot full of fresh herbs or half as many dried herbs
- Oil (olive oil, sesame oil, coconut oil…)
- some beeswax (about a tenth of the amount of oil)
- possibly a few drops of essential oil for the fragrance
- Thermometer, nylon stocking
Tip Measure the amount of oil directly in the jar that you want to fill with your cream later. For lip care, add a little more beeswax if necessary to achieve a firmer consistency.
Production of cream or lip care
You can crush or crush the herbs in a mortar (for dried herbs). Now heat the oil to 70° and stir in the herbs. Continue stirring for about 30 minutes. Be careful not to fry the herbs! Then strain the oil through a nylon stocking and squeeze it thoroughly to make the most of the active ingredients from the herbs. Now heat the oil again slightly and melt the beeswax in it, stirring constantly. If you want to use essential oil for the fragrance, add a few drops now. Finally, you can pour the finished cream into small jars or screw-top jars and leave to cool with the lid open until the cream has set. For hygienic reasons, you can cover the open jars with a kitchen towel. Homemade creams are a wonderful gift for your friends and relatives.
When making my last cream, I experimented with lots of herbs from my own garden and oils. An unmistakable fragrance, without the addition of essential oil!
Deodorant
I highly recommend making your own deodorant because many conventional deodorants contain aluminum compounds that are suspected of promoting the development of certain types of cancer. Depending on how much deodorant you use every day, waste consumption is also very high in the long term.
Everything is possible when making homemade deodorant: spraying, rolling, spreading, rubbing in. So you don’t even have to change. Here I present some recipes in which the most important ingredient is usually baking soda. The herbs used as a base in tea provide additional care, but tea reduces the shelf life.
Recipe for roll-on deodorant
- 50 ml herbal tea (for example sage or simply water)
- 1 teaspoon baking soda
- Tea tree oil
- possibly 1 tsp cornflour (for a jelly-like consistency)
- empty deodorant roller
Production of the roll-on deodorant
Boil the tea and remove a little water to mix the cornflour. Then add them while stirring constantly. Now mix in the baking soda and tea tree oil and leave your deodorant liquid to cool, stirring constantly. Now you can add a few drops of essential oil if necessary. Now pour the mixture into an empty roll-on deodorant bottle.
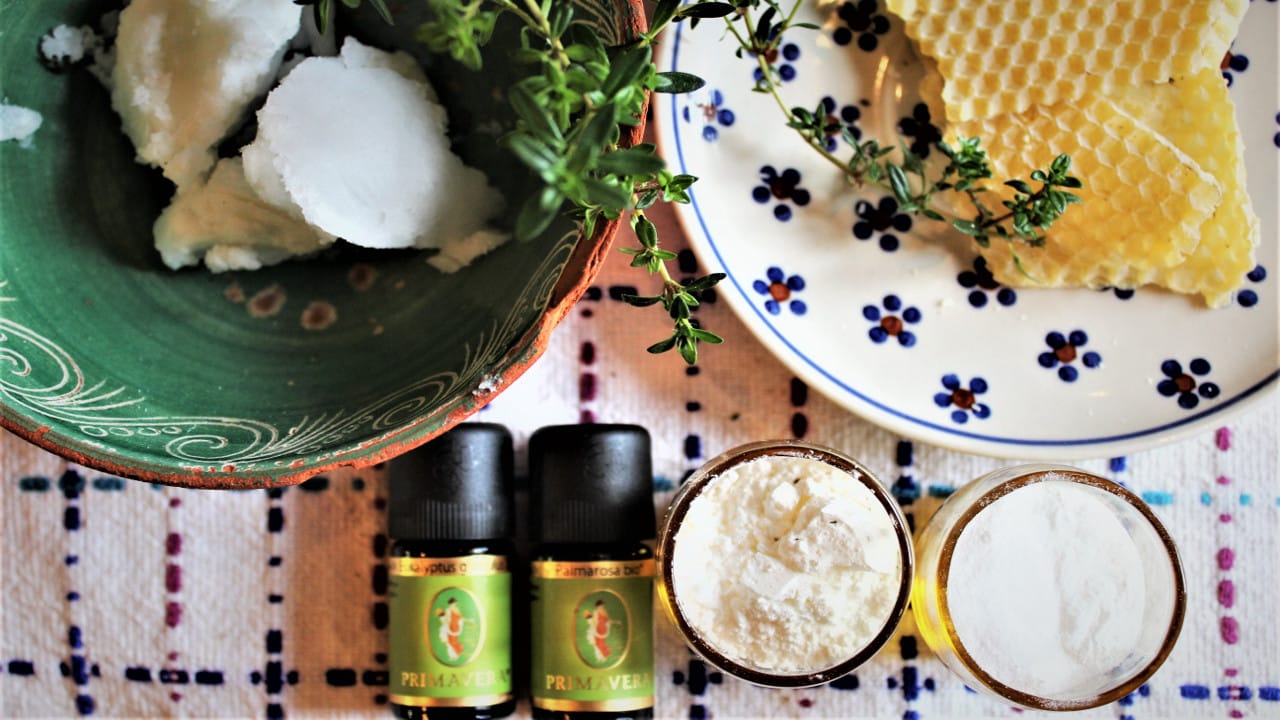
Recipe for solid deodorant (stick or cream)
- 100 ml coconut oil
- 10 ml olive oil
- 10 ml sesame oil
- 3 tablespoons dried lemon balm (tea)
- 10 g beeswax
- 1 tbsp cornflour
- 1 tbsp baking soda
- Citronella essential oil if necessary
Production of solid deodorant
Melt the coconut oil with the olive oil, sesame oil and beeswax. Now add the lemon balm leaves and stir the warm oil for about 15 minutes. Strain it through a clean nylon stocking. Now you can add the cornstarch, baking soda and citronella oil, if using. Then pour the mixture into an empty deodorant stick or cream jar. Use a little less wax for the deodorant cream so that it remains creamy.
Recipe for deodorant spray
Spray deodorant is very easy to make. All you need is:
- 100 ml sage tea or water (lemon verbena also smells very good)
- 1 teaspoon baking soda
- Essential sage oil (alternatively lime oil or lemon oil)
Production of deodorant spray
Allow the tea to cool slightly and stir in the baking soda. It is advisable to grind the baking soda with a mortar beforehand to ensure that the spray bottle does not clog up later. Now add some essential oil and pour the mixture into an empty spray bottle.
Toothpaste
Toothpaste is a particularly important topic if you want to make your own cosmetics. Conventional toothpaste contains a lot of unpleasant substances that can even be harmful to your health. This includes microplastics, which you definitely don’t want in your mouth and certainly don’t want to accidentally swallow.
There are various recipes and ways to make your own toothpaste. The simplest, but certainly the one that takes the most getting used to, is brushing your teeth with curd soap. You can read how and why this works here.
In addition tocurd soap, coconut oil is a particularly valuable aid for oral hygiene. “Oil pulling” with coconut oil is in vogue. It works very simply: put a teaspoon of coconut oil in your mouth and keep it there for as long as you can, but at least five minutes. During this time, you should keep pulling the oil back and forth between your teeth. At the end, the oil is spat out. The coconut oil absorbs the bacteria in the mouth and the caprylic acid and lauric acid contained in coconut oil reduce the risk of tooth decay. Birch sugar or stevia are recommended as sweeteners. They protect against tooth decay and inflammation and also taste good.
Recipe for toothpaste
- 4 tbsp coconut oil
- A few sage and mint leaves (fresh or dried)
- 2-3 tsp baking soda
- 1 teaspoon stevia
- Peppermint, bergamot, lemon balm, lime or another essential oil
Production of toothpaste
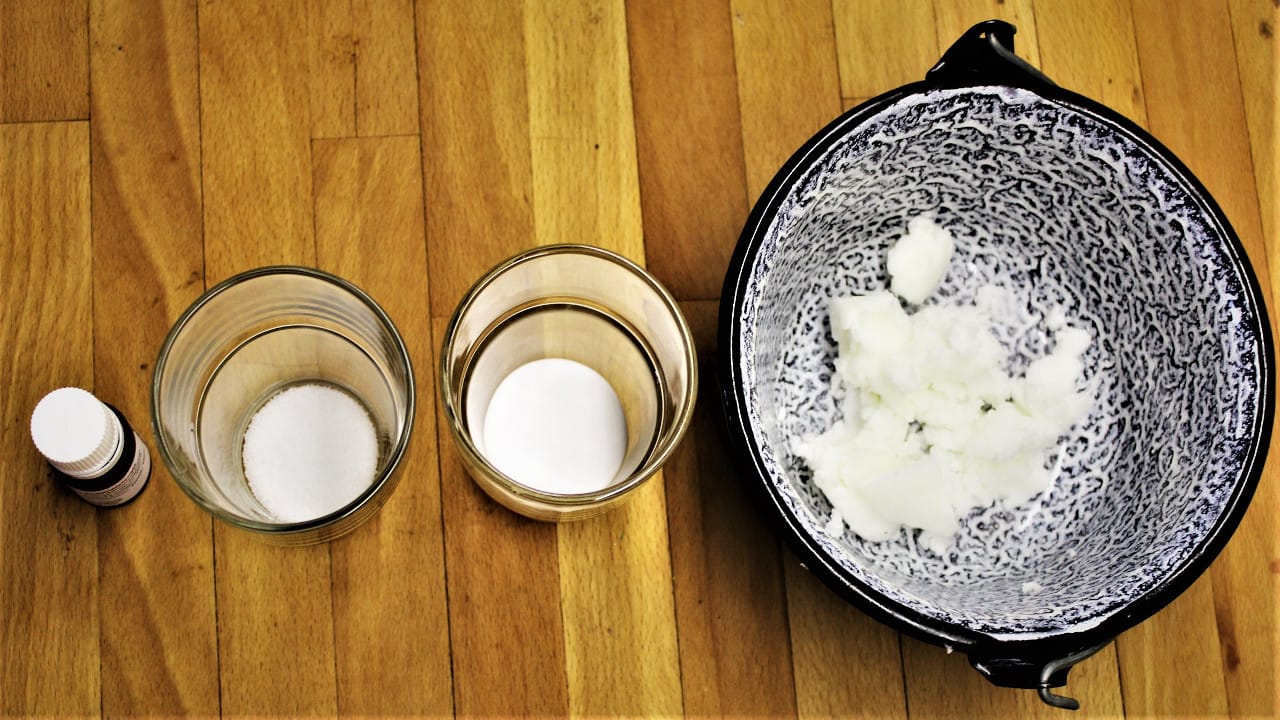
Melt the coconut oil and stir the plant leaves in the warm oil for about 20 minutes. Pour everything through a nylon stocking and squeeze well. Reheat the oil and stir in the other ingredients. Pour the mixture into a sealable jar and wait with the lid open until the coconut oil has solidified again. Stir again, screw on, done.
Now you can brush your teeth anywhere in the world without any side effects for you or nature. However, you shouldn’t swallow homemade toothpaste either, so that the bacteria from your mouth that are bound in the toothpaste don’t end up in your stomach. If you realize that baking soda is not for you, you can also find recipes with healing clay and slurry chalk on the Internet. I added Swiss stone pine essential oil to my last homemade toothpaste. Swiss stone pine oil is not cheap, but it’s worth it, because the taste and freshness after brushing your teeth are amazing!
Shower gel
Conventional shampoos and shower gels also contain many substances that are suspected of being carcinogenic or causing allergies. And of course we often find microplastics here too. Natural soaps or the following shower gel offer you an alternative for a wonderful and environmentally friendly shower experience.
Recipe for shower gel
- 250 ml water
- 30-40 g natural soap or curd soap
- 25 ml boiled coffee (for firm skin)
- Cornstarch
Production of shower gel
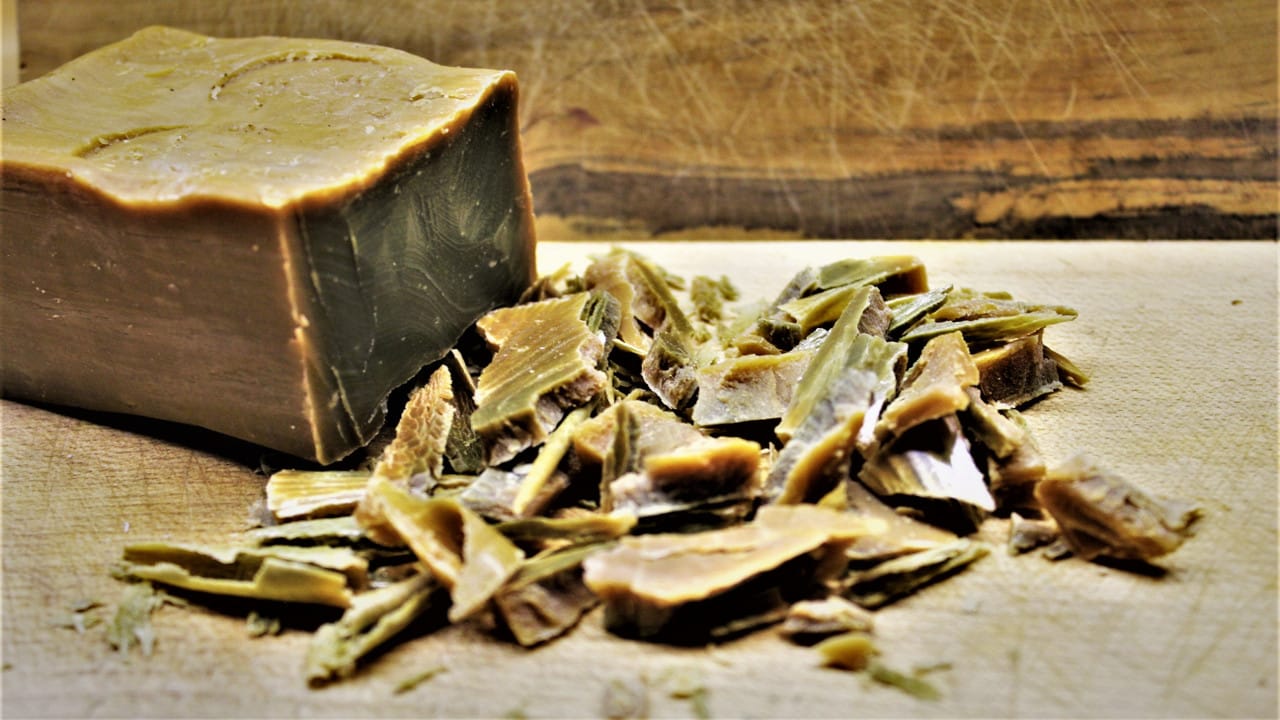
Heat the water with the coffee in a saucepan. Drain off some of the liquid and stir in the cornflour. Grate the soap (with a cheese grater or knife) into the pot with the heated liquid and stir in some cornstarch to achieve your desired consistency. Attention: Watch out for the pudding effect. Your shower gel will become a little firmer as it cools.
Of course, there are no limits to your creativity when it comes to making shower gel. Here are a few suggestions:
- Vegetable oils (nourish and moisturize the skin) such as coconut oil (has an antibacterial effect), sesame oil or almond oil.
- Essential oils give your shower gel and your skin a pleasant and invigorating fragrance. Make sure you use pure, high-quality oils so as not to irritate your skin. Refreshing scents are lemon and mint, calming scents are thyme, sage and lavender.
- Instead of using water, you can also make a herbal tea.
- Honey nourishes the skin, has an antibacterial effect and moisturizes. Allow your shower gel to cool slightly before adding the honey.
After a while, the ingredients in your homemade shower gel can settle as it is free from preservatives. Shake it vigorously before use and the problem is solved. With the basic recipe, your shower gel will keep for several months. However, adding oils or honey shortens the shelf life to a few days. With a little high-proof alcohol, you can extend the shelf life of your shower gel in a completely safe and skin-friendly way. Also wash out your shower gel container before filling it with alcohol. Another option is to freeze smaller quantities and defrost them one by one.
Shampoo, conditioner, soap
You can also make your own soap. You can find out how to do this and why bars of soap are incredibly practical on a camping vacation here here. You can of course also use natural soaps instead of shower gel, but also as a shampoo.
Conventional shampoos destroy the natural oil film on the scalp, making your hair greasy more quickly and drying out the ends because you have to wash it more often. This is of course incredibly impractical, especially on camping vacations. With homemade shampoos or shampoo soaps, you can restore your hair to a more natural state in which it is less greasy and permanently healthier and stronger.
However, you will need a little patience for this, as the changeover means that the result may not be satisfactory the first time. So at first it gets worse, but then it goes uphill! If you want to make your own shampoo, there are two fundamentally different options. With soap or without soap:
Soap shampoo
Shampoo with soap is produced in exactly the same way as shower gel. In summer, peppermint oil is very refreshing, other effective oils against greasy hair are rosemary and nettle. Alternatively, you can also buy hair soap in the form of natural soap bars.
Shampoo without soap
The two best-known soap substitutes are rye and healing clay. You have to mix these shampoos every time, otherwise the rye-water mixture will quickly turn into sourdough. I used the rye method for a while and quickly got used to it. It works surprisingly well! You should prepare the mixture about half an hour before showering.
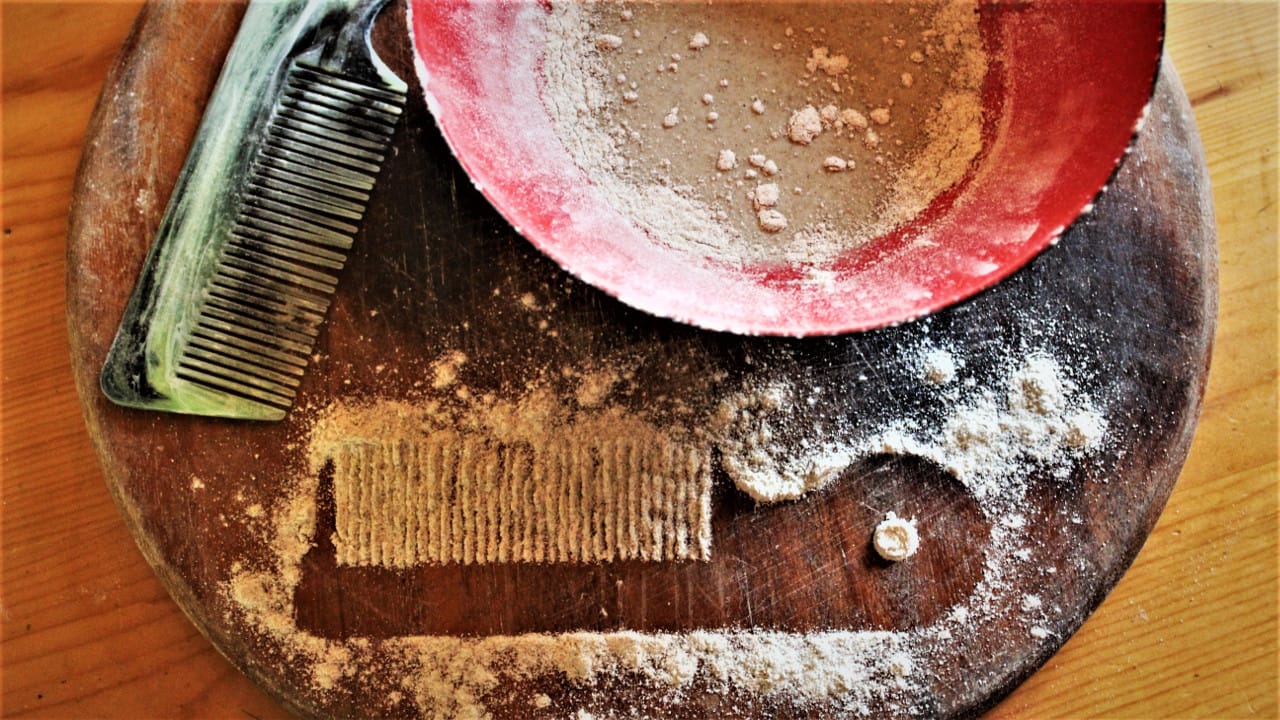
For a hair wash, all you need is a small bowl of rye flour mixed with water to your desired consistency. The flour should soak for half an hour. Make sure that you rinse the mixture out of your hair thoroughly after massaging it in so that no flour dust remains. Especially on camping vacations, we can’t always shower when and how we like. Rye flour is a wonderful and environmentally friendly alternative to dry shampoos, as rye simply binds fat. Sprinkle the flour on your scalp, leave it on briefly and comb it out again thoroughly (preferably with a boar bristle brush). I always find things that can be used in many different ways handy when I’m out and about. As you know, you can do a lot of magic in the kitchen with rye flour. What’s more, rye pancakes are much healthier than those made with overbred wheat.
Shampoos with healing clay work in a very similar way. However, 1-2 tablespoons of healing clay are sufficient. Leave this mixture to work briefly in the shower.
Apple cider vinegar or lemon juice diluted with water is suitable as a DIY conditioner for your hair . This will make your hair soft and shiny. If you have been washing your hair with conventional shampoos for years, you will notice that your hair feels a little brittle after washing it with soap or homemade shampoo. As soon as your hair has weaned itself off all the additives and silicones in conventional shampoos, it will regain its original elasticity. You can remedy this with a little apple cider vinegar or lemon juice (be careful with bleached hair).
All of these methods work best if you use them for a while to allow the hair to adjust. Even if homemade shampoo isn’t your thing, you now know what to do on vacation if you run out of shampoo or forget your dry shampoo at home.
Massage oil
With a small bottle of homemade massage oil in your luggage, your next camping vacation is guaranteed to be pure relaxation. Of all the recipes I present to you here, this one is the simplest.
Recipe for massage oil
- Cold-pressed oil (for example coconut oil, olive oil, sesame oil, almond oil or sunflower oil)
- A few drops of essential oil (Pay attention to the effect you want to achieve with your massage oil. An invigorating massage requires fragrances such as citronella, lime or eucalyptus. Lavender, rose or thyme are naturally suitable for a relaxing massage).
Production of massage oil
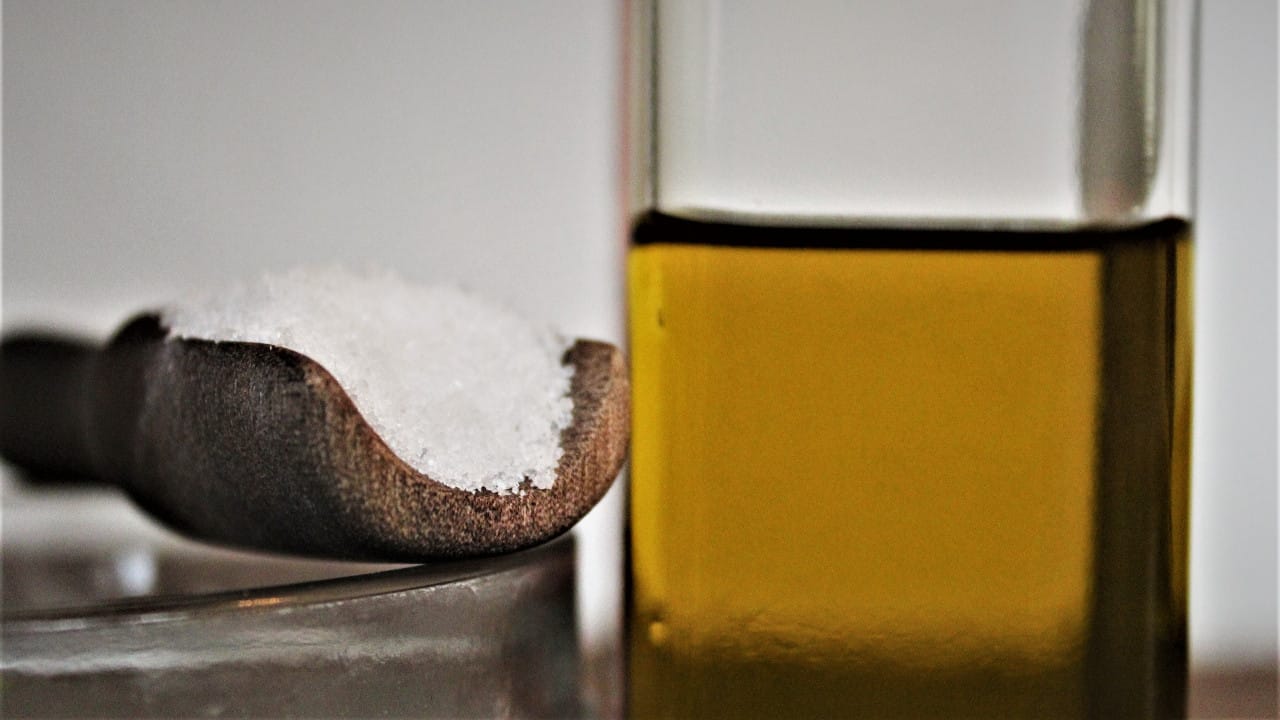
Pour the oil into a sealable bottle, add a few drops of the essential oil and shake the mixture. Now nothing stands in the way of a soothing vacation massage! You can also use the massage oil after showering to care for your skin. It is also suitable as a care oil after shaving or for dry skin in general.
Tip If you don’t have any essential oil in the house, you can also simply stir fresh or dried herbs into warm oil and pour off.

Peelings
If you want to make your own scrub, you have an incredible number of options. Most scrubs are freshly prepared and used directly in the shower. You need nothing more than normal kitchen ingredients to make homemade scrubs. Some recipes are so easy that you can prepare them quickly on your camping vacation and take them with you in the shower. Exfoliating gloves are an alternative to homemade scrubs. Have a good time on vacation!
Recipe for sea salt peeling
- Olive oil
- Sea salt
- Chopped rosemary
Production of sea salt peeling
Mix all the ingredients together and rub your body thoroughly in the shower. Rosemary stimulates your circulation, oil nourishes and salt dissolves old skin cells. Use this peeling very carefully on the face.
Recipe for sugar scrub
- (Base) oil
- Brown sugar
- some honey
- Apple cider vinegar
- essential oil
Mix all the ingredients together. As an alternative to sugar, you can also use coffee powder. The coconut oil nourishes your skin and has an antibacterial effect. The sugar removes dead skin cells and the honey also nourishes your skin. Apple cider vinegar is effective against itchy skin and impurities.
Make-up remover wipes
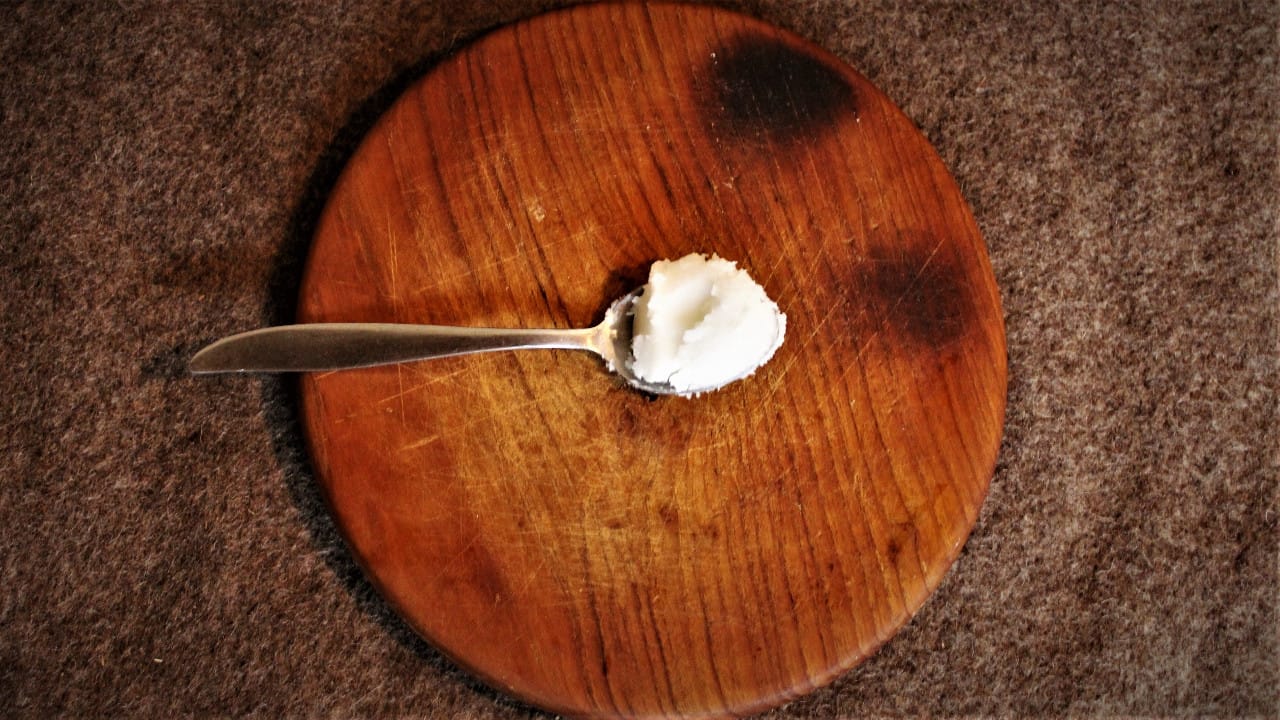
Even if you may no longer be able to read the word “coconut oil”, coconut oil is also ideal for this cosmetic application. You don’t have to use cotton pads from the drugstore to remove your make-up, which then end up in the garbage can.
You can cut pieces out of a used cotton shirt and remove your make-up with coconut oil. The pieces of fabric then go into the laundry basket instead of the garbage can. You can also easily use pure coconut oil as a face cream.
Wet wipes
Many campers don’t go on vacation without a pack of wet wipes in the cupboard. Of course, these disposable wipes are very practical. However, wet wipes usually contain ingredients that are not so healthy for the skin. So the motto here is the same: Just do it yourself!
Recipe for wet wipes
- 200 ml boiled water
- 1 tbsp almond or coconut oil
- 1 teaspoon fine baking soda
- possibly essential oil for the fragrance
- a sealable box (Tupperware)
- Kitchen roll or, even better, a cut-up cotton shirt
Production of wet wipes
Heat the water with the oil and mix all the ingredients together. Fold the individual sheets of kitchen roll or the pieces of fabric into the box. Now pour the water-oil mixture over the cloths and close the box.
If you tend to use the wet wipes on vacation to quickly wipe somewhere, you can dissolve some ground curd soap in boiled water instead of the oil. After your vacation, simply put the pieces of cloth in the washing machine!
Hand cream
Hand cream is an essential item for some campers when they are out and about. With this recipe, you can easily make your own hand cream. Fill them into a handy screw-top jar so that you always have them to hand.
Recipe for hand cream
- 50g cocoa butter
- 20 g coconut oil
- 20g Vaseline
- 1 tbsp oil (olive, jojoba, almond…)
- possibly a few drops of essential oil
Production of hand cream
Melt the cocoa butter carefully (for example in a bain-marie) together with the coconut oil. Now stir in the nourishing oil and add a few drops of an essential oil with your desired fragrance. Leave the hand cream to cool in an open container until it has set.
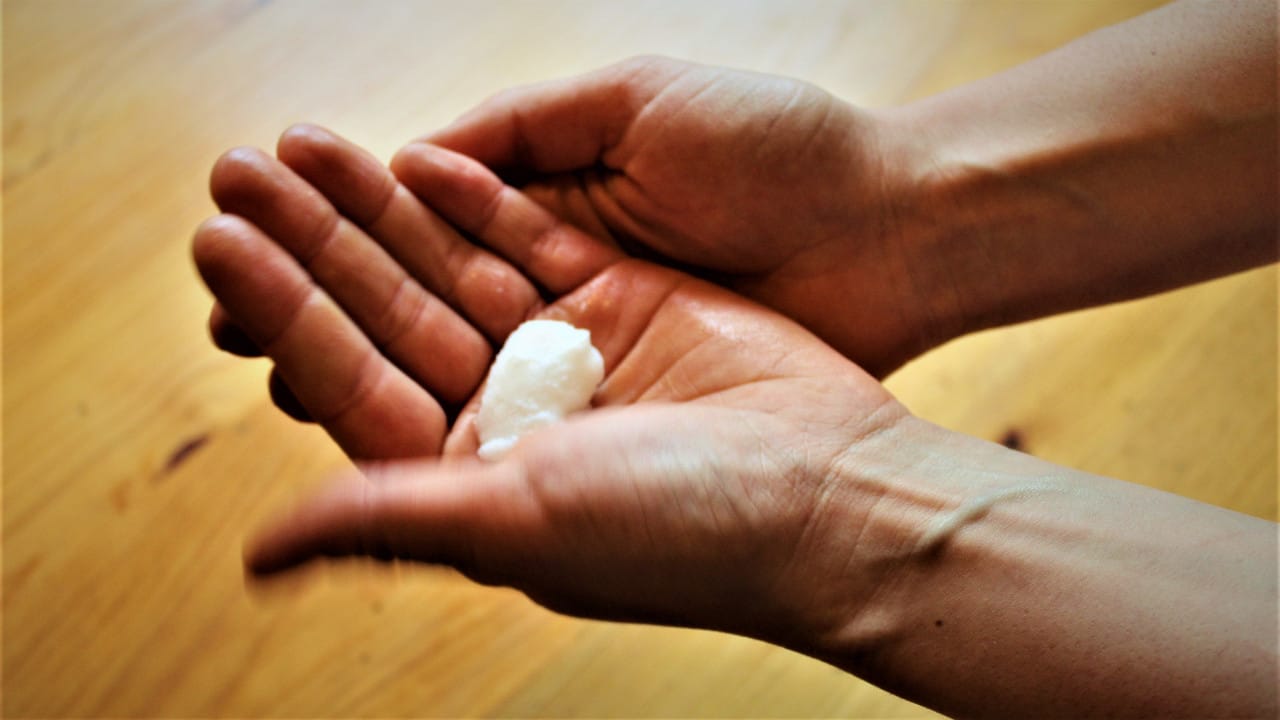
With these simple and inexpensive recipes , you have a good basis for taking your first steps and making your own natural cosmetics – a meaningful and creative activity that is good for you and the environment.
