Motorhome and caravan fans are familiar with the fact that the mattresses in camping vehicles often have different dimensions to the bed at home or are rounded at one corner. Conventional standard fitted sheets therefore do not fit, and custom-made products are often expensive fun. With these illustrated step-by-step instructions, even beginners can sew their own DIY fitted sheet.
I used the mattress of my motorhome as a sample. Using this example, I’ll show you how to adapt a ready-made sheet to the specific dimensions of your mattress.
You need:
- A standard fitted sheet (e.g. jersey 200 x 160 cm)
- Tape measure or ruler
- Tailor’s chalk or trick marker
- Fabric scissors
- Pins or clips
- Sewing machine and jersey needle (universal needle usually also works)
- Matching sewing thread
- Possibly elastic band (to replace or extend)
I wish you lots of fun with your sewing project!
Your Margret from Spass-am-naehen.de
Step-by-step instructions for your DIY fitted sheet
1. record mattress dimensions and create a sketch
Measure the mattress precisely and mark the corners with pins.
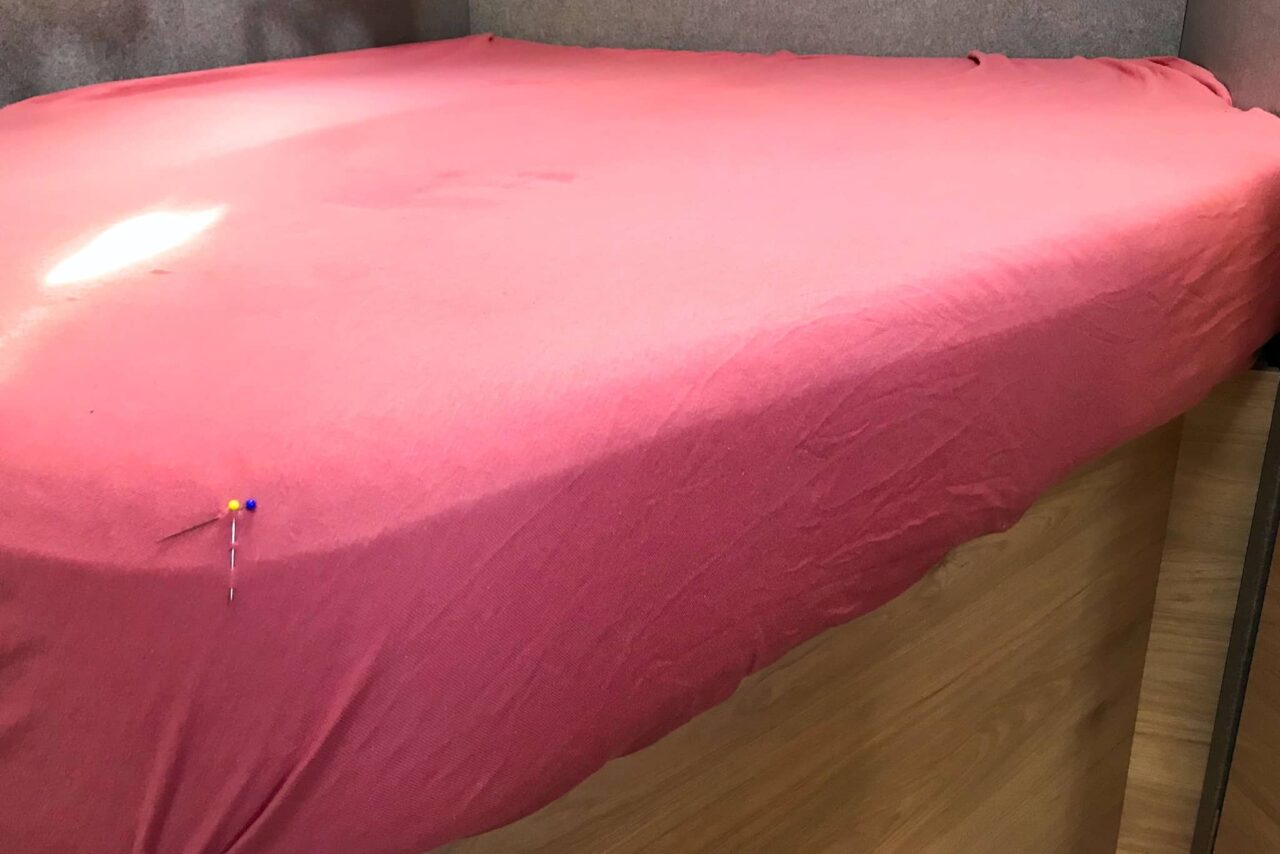
The mattress I have shown has the dimensions of
- Length of the longer side: 200 cm
- Length of the shorter side: 120 cm
- Rear width: 160 cm
- Front width: 90 cm
It is best to make a sketch and transfer the measurements onto paper to determine the new shape of the fitted sheet, including the allowances. This is what my drawing looks like:
On this sketch you can see the surface of the mattress: You can see that I have connected the point of the shorter side at 120 cm with the end point of the front width at 90 cm. This results in 5 corners of the mattress. The height of the mattress is 23 cm, and 10 cm are included for the fold underneath. The manufacturer also provides corresponding allowances for a ready-made fitted sheet.
To create a nice/clean corner, I drew lines at right angles at the corners where the sheet is cut in and then sewn. I also beveled the turn-up allowances at the ends by 2 cm, as the turn-up under the mattress also becomes smaller. This is to prevent the sheet from bulging afterwards.
It sounds very difficult at first, but it is easy to understand when cutting.
2. prepare and unravel the sheets
If, like me, you want to alter a standard fitted sheet, we now come to the point of cutting the elastic from the sheet to be altered. On the long side from approx. 95 cm and on the short side from 65 cm. In other words, approx. 25 cm before the intended corner.
Tip
It is better to cut a little more, then you can lay the sheet on the flat work surface and mark it.
Then mark the outline of the new mattress shape with tailor’s chalk or similar, according to your sketch. To do this, it makes sense to lay the fitted sheet on a flat work surface. I took a corner in one hand and a marked corner in the other. I took the resulting folded edge as a straight line and used it as a guide for my measurements.
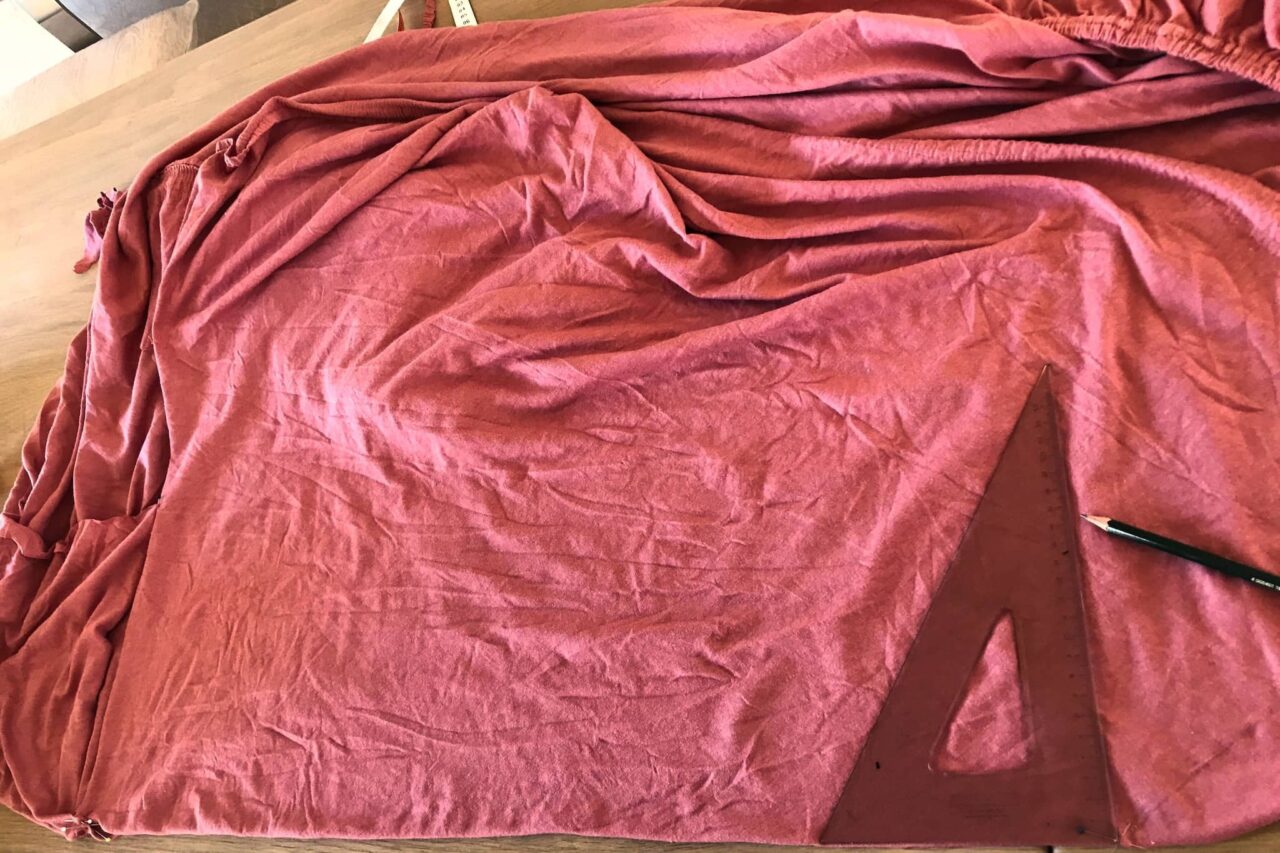
3. cutting to size
Cut the sheet along the marked lines and use the dimensions of the sketch and the seams of the original sheet as a guide.
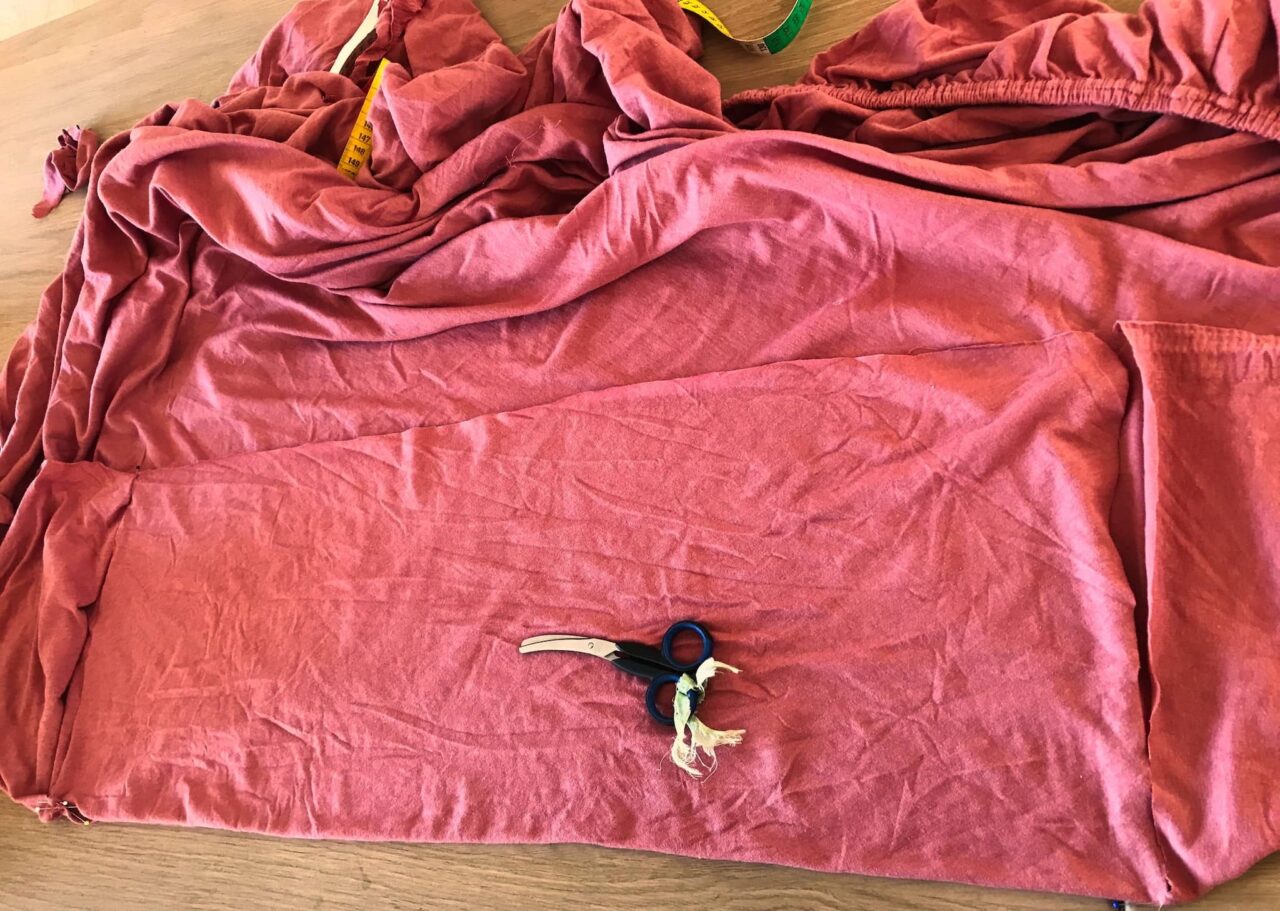
4. adjust and sew the seams
Fold the fabric edges of the cut corners right sides together and fix them with pins if necessary.
Sew the corners together with an elastic straight stitch or small zigzag stitch to create the new shape of the sheet. (Be careful when locking the seams so that there are no holes)
5. adjust corners
You can adjust the existing seams at the new corners by neatly cutting away excess fabric and finishing the new corners with a zigzag stitch or an overlock.
6. check or replace the elastic band
Check whether the existing elastic of the sheet is sufficient. If not, replace it with a longer elastic band. In the sheet I used, the area was smaller and the length of the elastic was therefore shorter.
Info
The elastic is sewn into the fitted sheet to be altered using a special machine. I, on the other hand, first sewed a tunnel and then pulled it in and sewed it in place. This is easier to handle and the tension is more even.
If the existing rubber can be easily separated, it sometimes makes sense to cut it off completely and replace it with a tunnel.
I first folded the edges of the fabric for a drawstring 1 cm inwards and then folded them over again by 1.5 cm. (This also depends on the width of the elastic). I then ironed it and topstitched it close to the edge with an elastic stitch. I left approx. 1 cm open at the beginning of the unraveled seams so that I could tuck my elastic in there afterwards.
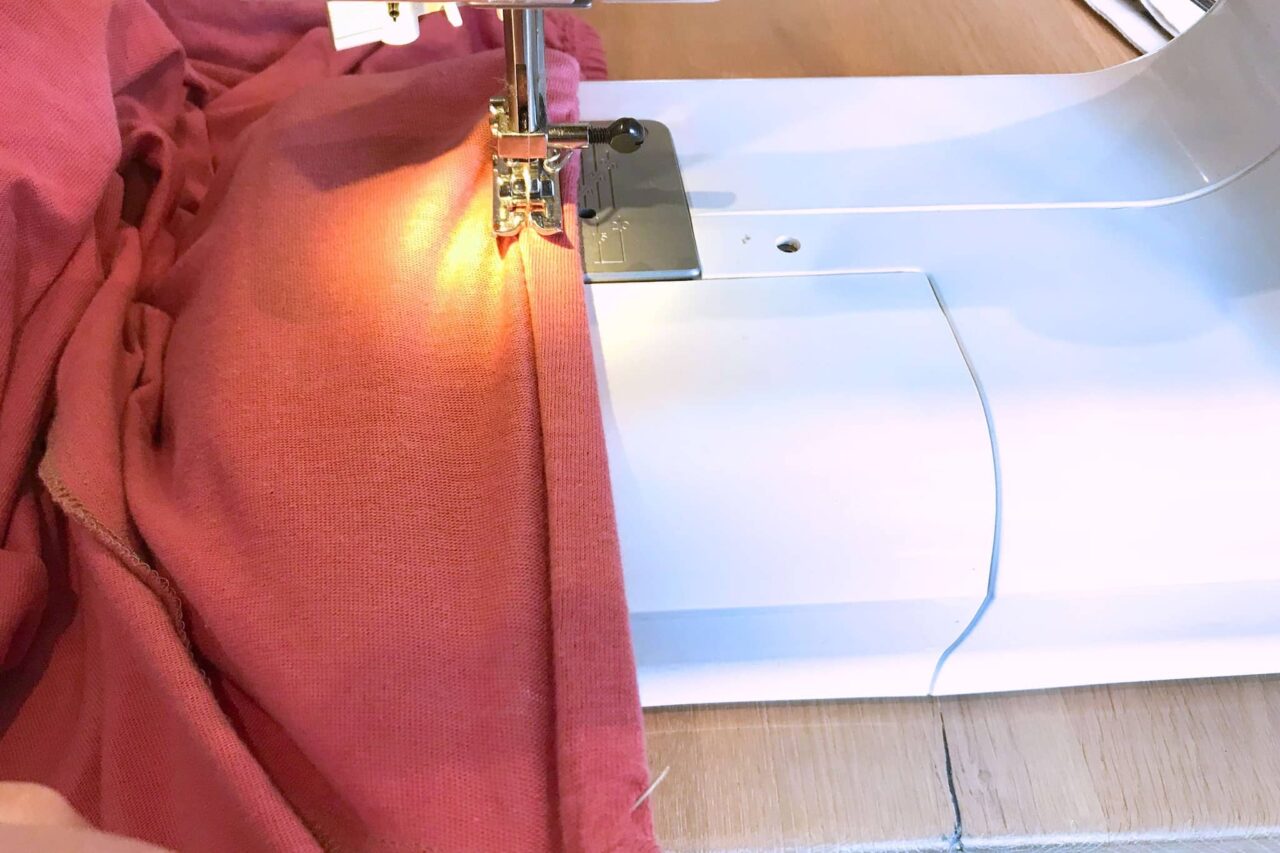
Another opening is useful where the rubber ends meet from both sides.
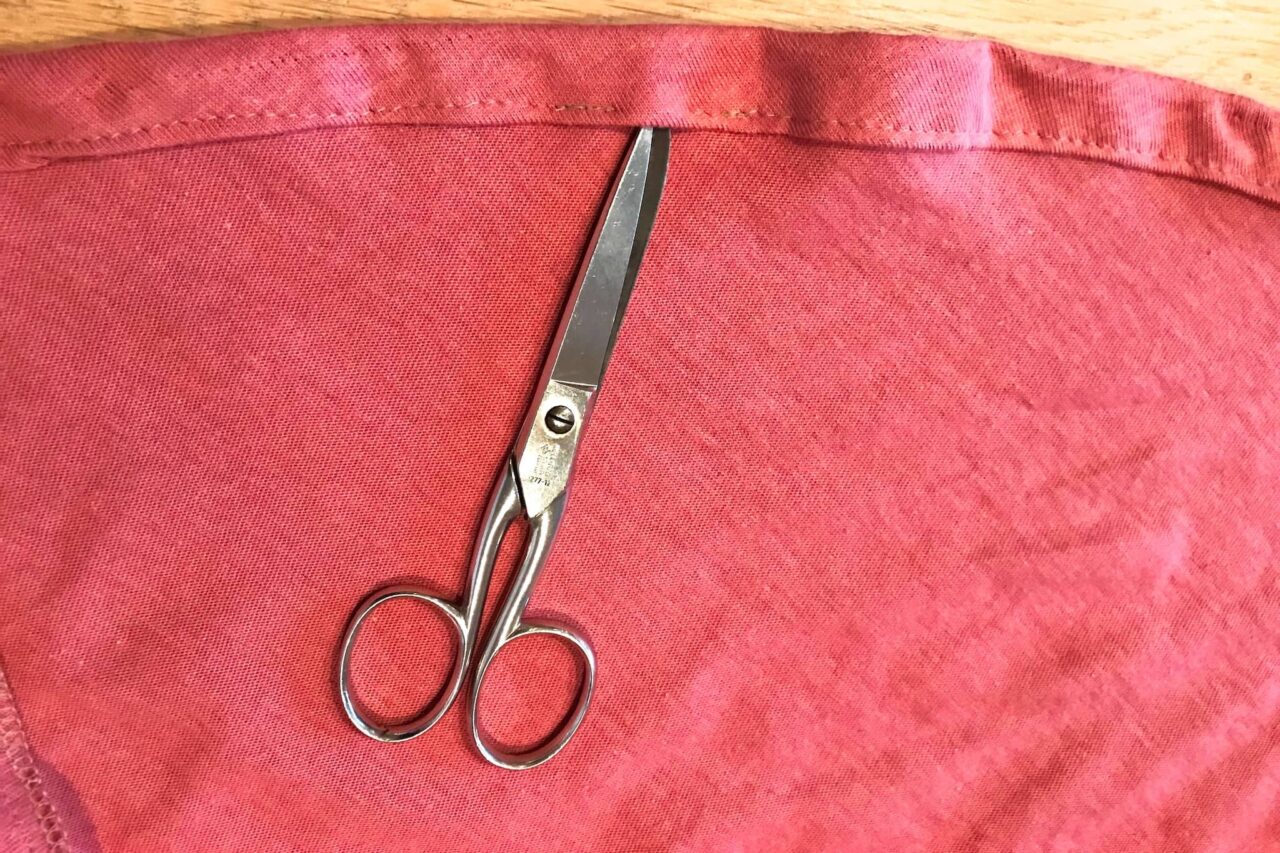
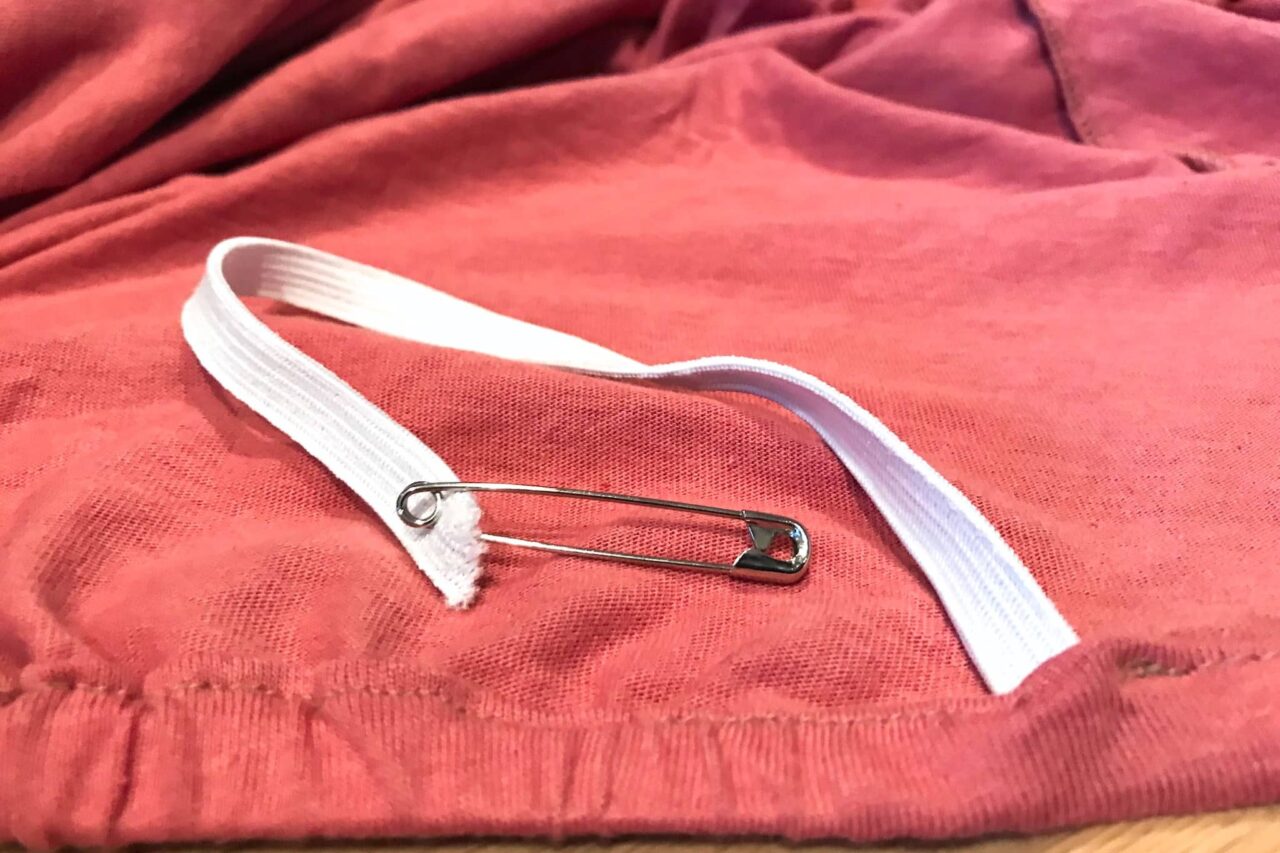
Pull the new elastic band through the drawstring using a safety pin.
Gather the elastic as required and secure the ends by overlapping them and stitching them in place. As soon as you smooth out the tunnel, the elastic will automatically slip into the hem.
Test on the mattress
Stretch the fitted sheet over the mattress to make sure it fits properly. If necessary, you can readjust the fit at the corners or edges without spending too much time. Making changes after final completion is not only annoying, but also time-consuming.
After checking, close the gaps left open by topstitching them close to the edge. Now you can sew over the elastic with an elastic zigzag stitch, distributing the width of the elastic evenly.
Tip
If you have to fold over when sewing, be sure to lower the needle so that the fabric does not slip under the machine.
In the next photo you can see the old seam of the fitted sheet to be altered on the right and the new seam after the alteration on the left.
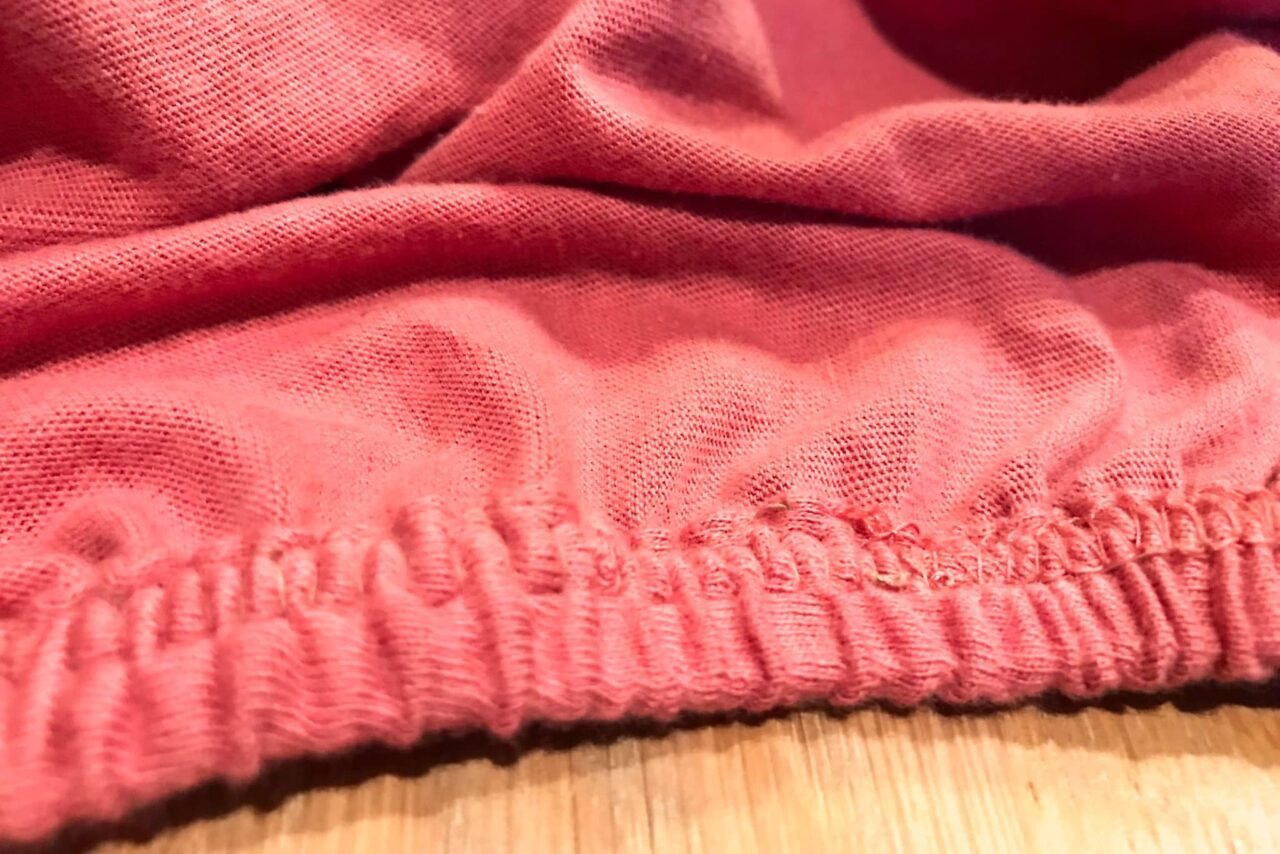
From the right-hand side, the changes made are barely recognizable.
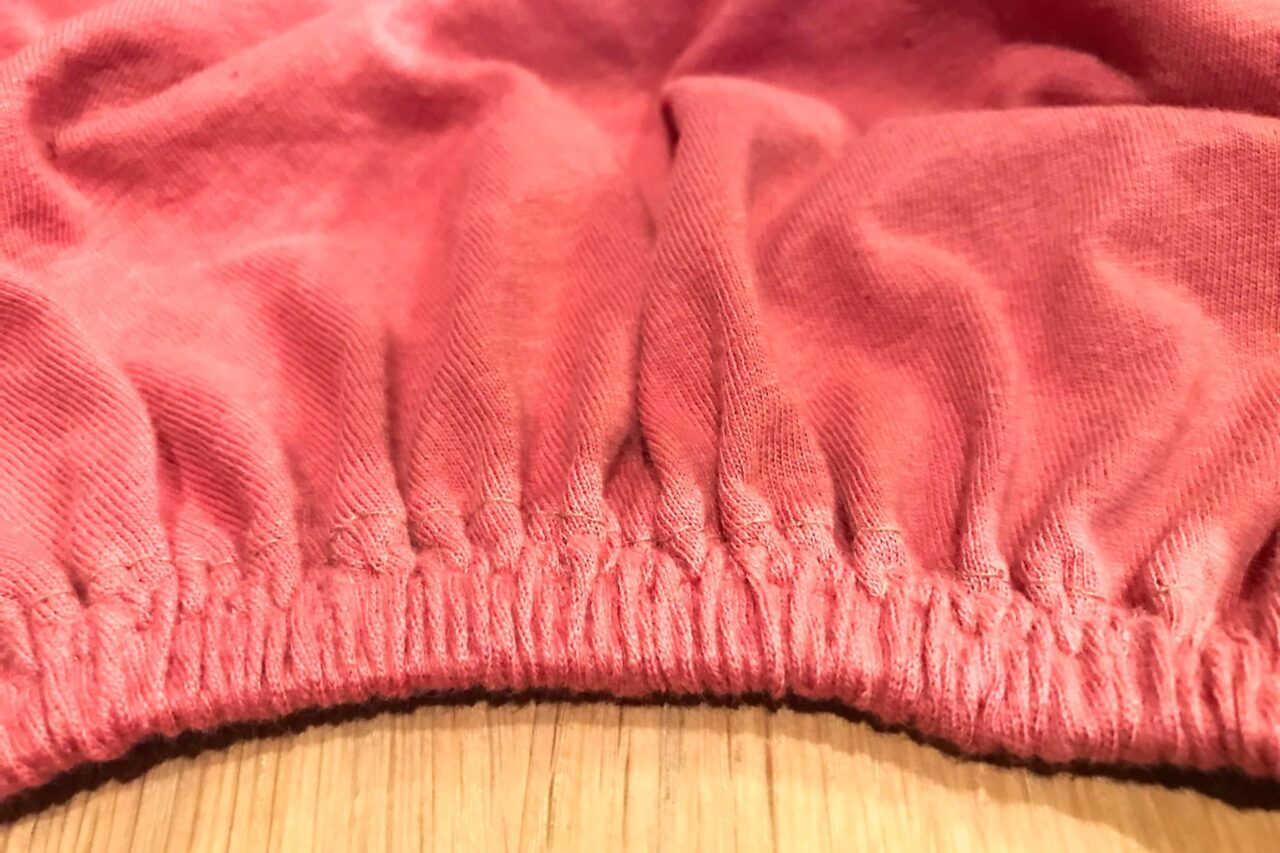
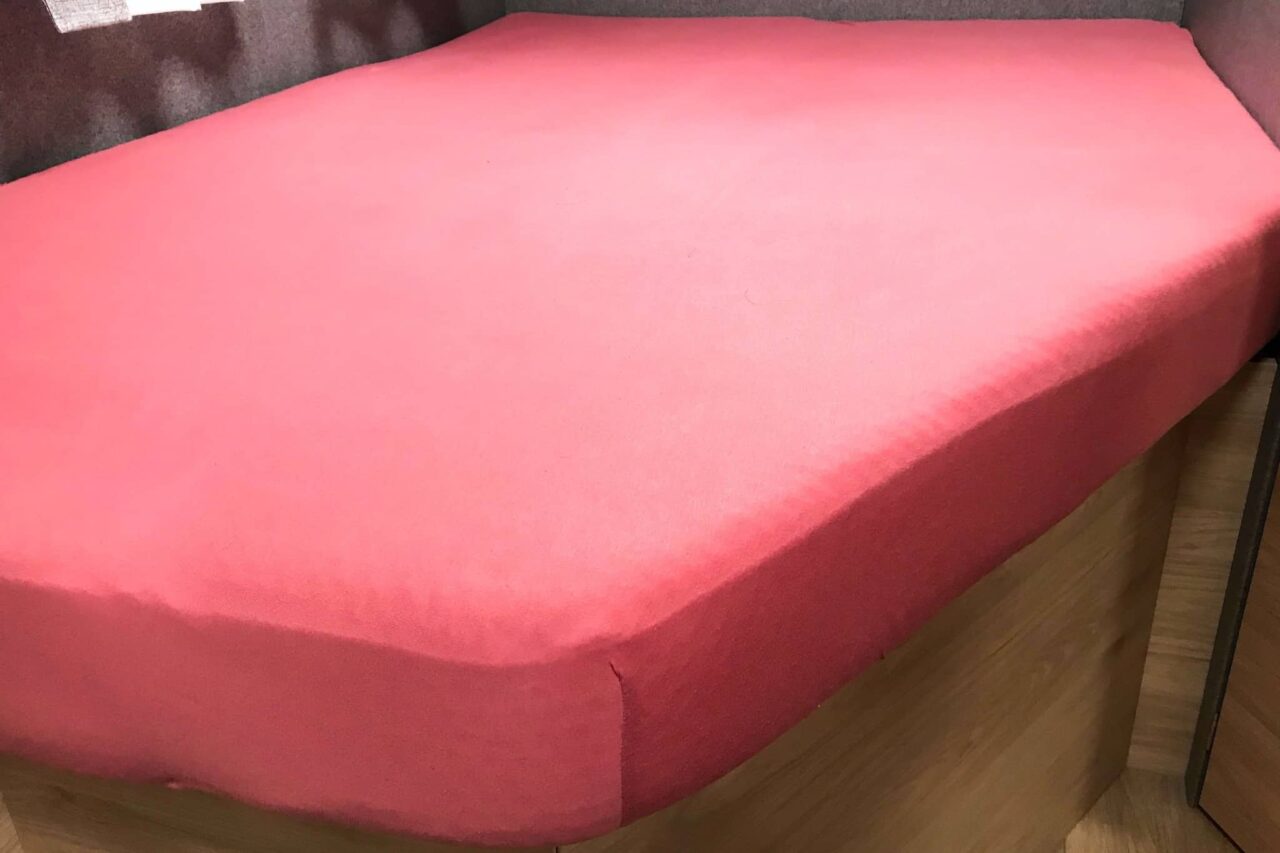
Made it! Your customized fitted sheet for the special mattress is ready:
Useful tips on choosing materials and sewing with stretch fabrics for your fitted sheet project:
Material selection
- Suitable substances:
- Jersey is ideal for fitted sheets as it is elastic, soft and breathable.
- Look for cotton jersey with elastane content (approx. 5 % elastane) so that the sheet remains stretchy and can be easily adjusted.
- For particularly cozy nights, you can also opt for terrycloth or interlock jersey.
- Rubber band quality:
- Choose a high-quality elastic band (approx. 1-1.5 cm wide). Cheaper versions often lose their elasticity quickly and wear out.
Tips for sewing stretch fabrics
- The right needle:
- Use a jersey needle or a stretch needle (size 70-80). These needles have a rounded point that will not damage the stitches in the fabric.
- The right stitch:
- Use a zigzag stitch or an elastic straight stitch to maintain the stretch of the fabric. Many sewing machines also have a special stretch stitch.
- Check thread tension:
- Test the stitch on a scrap piece of fabric to ensure that the thread tension and stitch setting are correct. The fabric should be able to stretch without the seam tearing.
- Do not pull fabric:
- Let the machine guide the fabric when sewing. If you pull too much, the seam may curl.
- Serging:
- For a neat finish, you can finish the edges of the fabric with a zigzag stitch or an overlock machine. Jersey does not fray, but a neatened edge looks more professional.
- Slippery fabric:
- If the fabric slips during sewing, it helps to use pins or fabric clips.
Special instructions for elastic
- If you are sewing in a new elastic band, stretch it evenly to avoid creasing.
- Depending on how the elastic is used, mark the quarters of the fabric and the elastic beforehand so that it is evenly distributed everywhere.
